As you begin your journey into the world of yoga, exploring essential poses tailored for relaxation can be a transformative experience. Starting with the foundational Mountain Pose, you’ll learn to ground yourself and align your body in preparation for deeper practice. Transitioning into poses like Child’s Pose and Cat-Cow Stretch, you’ll discover the power of surrender and flexibility. But there’s more to uncover beyond these initial poses; continue exploring to unlock the full potential of relaxation within your yoga practice.
Key Takeaways
- Start with Mountain Pose for grounding and alignment.
- Child’s Pose for surrender and comfort, focus on breath.
- Engage spine with Cat-Cow Stretch for flexibility.
- Downward Facing Dog for stress relief and alignment.
- Finish with Corpse Pose for stress reduction and relaxation.
Mountain Pose
To begin your yoga practice, try standing tall in Mountain Pose, grounding your feet firmly into the earth. Take a moment to align your body, stacking your shoulders over your hips and lengthening your spine. As you settle into the pose, focus on your breath.
Breathwork techniques are essential in Mountain Pose; inhale deeply through your nose, feeling your chest expand, then exhale slowly through your mouth, releasing any tension.
For beginners, modifications can help make Mountain Pose more accessible. If you struggle with balance, you can place a chair against a wall for support or slightly bend your knees. Remember, it’s okay to adapt the pose to suit your needs.
Common mistakes in Mountain Pose include hunching the shoulders or locking the knees. Be mindful of these tendencies and make adjustments as needed.
Advanced practitioners may explore variations like adding arm variations or shifting weight to one foot to increase the challenge. Keep exploring and listening to your body as you grow in your practice.
Child’s Pose
Begin your practice by easing into Child’s Pose, a restful posture that allows you to surrender and find comfort on your mat. To get into Child’s Pose, kneel on the mat, big toes touching, and sit back on your heels. Extend your arms in front of you or alongside your body, lowering your forehead to the mat. This gentle stretch calms the mind and releases tension in the back, neck, and shoulders.
Modifications and variations can enhance your Child’s Pose experience. If you have knee discomfort, place a folded blanket under your knees for extra support. To deepen the stretch in your hips, spread your knees wider apart. Remember, it’s essential to listen to your body and adjust the pose as needed.
Focus on breath control and relaxation techniques while in Child’s Pose. Take slow, deep breaths, feeling your belly expand on the inhale and contract on the exhale. Allow each breath to bring a sense of ease and surrender, letting go of any stress or tension.
Child’s Pose is your sanctuary on the mat, offering a moment of peace and rejuvenation.
Cat-Cow Stretch
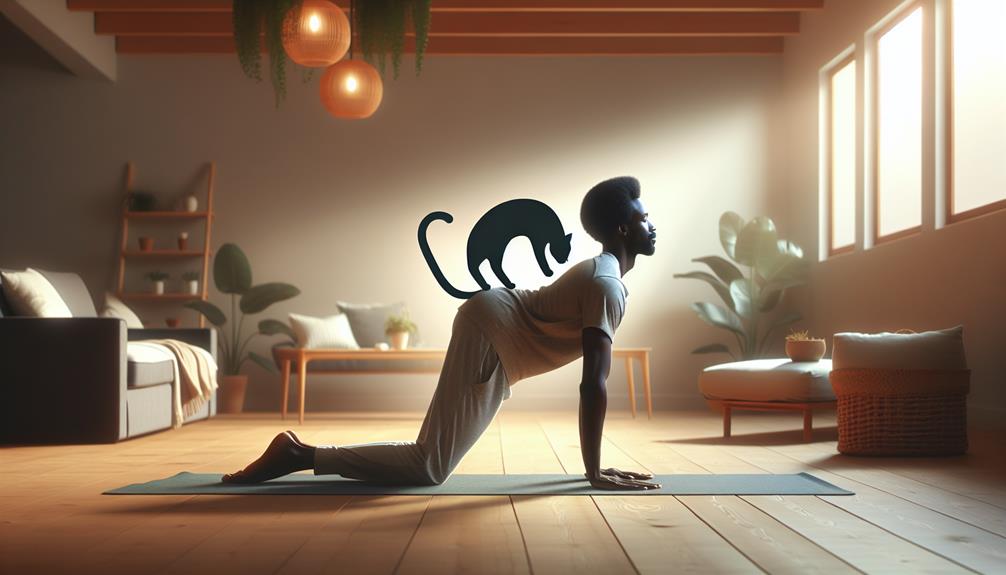
Engage your spine and cultivate flexibility with the Cat-Cow Stretch, a dynamic yoga movement that alternates between arching and rounding the back. This gentle flow helps to warm up the spine and increase flexibility while fostering a strong mind-body connection.
As you move through the Cat-Cow Stretch, focus on syncing your breath with each movement. Inhale as you arch your back, lifting your head and tailbone towards the sky in the Cow position. Feel the stretch along your front body as you expand your chest.
Then, as you transition into the Cat position, exhale and round your spine, tucking your chin towards your chest. This movement releases tension in the back and stretches the spine in the opposite direction.
Allow the Cat-Cow Stretch to be a moment of relaxation and introspection. Pay attention to how your body feels with each breath and movement. Embrace the fluidity of the practice, letting go of any tension or stress.
Through consistent practice, you won’t only enhance your flexibility but also deepen your mind-body connection, promoting overall well-being.
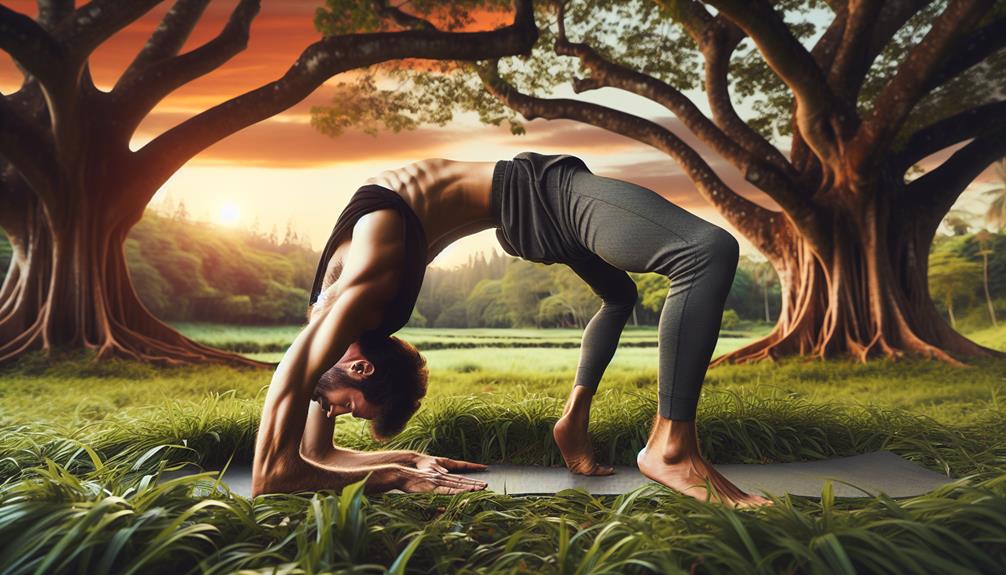
Downward Facing Dog
Let’s talk about Downward Facing Dog.
You’ll learn about the importance of alignment in this pose, discover the benefits it offers, and get some helpful tips for beginners to make the most of your practice.
Get ready to strengthen your body and find some peace in this foundational yoga pose.
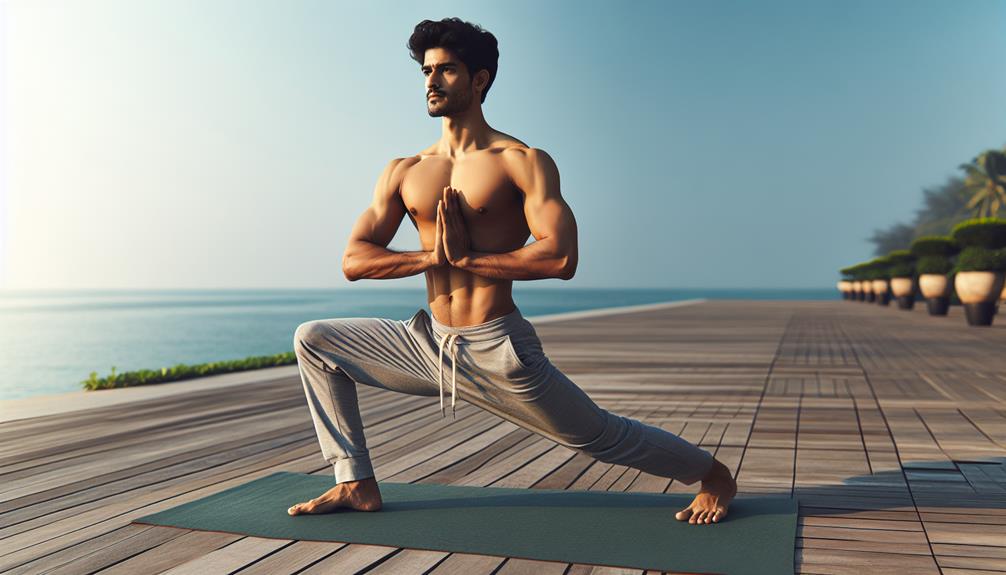
Alignment in Downward Dog
To ensure proper alignment in Downward Facing Dog, focus on creating a straight line from your hands to your hips. This foundational pose requires attention to detail to reap its full benefits.
Here are some guidelines to help you achieve the correct alignment:
- Hand Placement: Place your hands shoulder-width apart, spreading your fingers wide for stability. Press firmly into the mat, engaging your arms and shoulders.
- Breathing Techniques: Focus on deep, steady breaths. Inhale as you prepare for the pose, and exhale as you settle into it. Breath awareness can help you relax and deepen the stretch.
- Modifications: If you have tight hamstrings, bend your knees slightly to take the pressure off. You can also use blocks under your hands for support.
- Common Mistakes: Avoid sinking into your shoulders or rounding your back. Keep your spine long and straight, with your tailbone reaching towards the ceiling.
Benefits of the Pose
To truly appreciate Downward Facing Dog, it’s important to understand the myriad benefits this pose offers for your body and mind. This pose is a powerful stress reliever, helping you release tension and calm your mind. As you extend your spine and lengthen your hamstrings, you’ll feel a sense of improved flexibility that can carry over into your daily activities.
Downward Dog also promotes mental clarity by allowing increased blood flow to your brain, helping you focus and find a sense of peace within yourself.
Moreover, practicing Downward Dog regularly can lead to better sleep patterns. By engaging your muscles and stretching out your body, you’re preparing yourself for a more restful night’s sleep. This pose helps soothe your nervous system, making it easier to unwind and relax before bedtime.
Embrace the benefits of Downward Facing Dog, and you’ll not only strengthen your body but also cultivate a more tranquil mind and improved overall well-being.
Tips for Beginners
For beginners looking to master Downward Facing Dog, focus on maintaining a strong alignment and engaging your core throughout the pose. This foundational pose can be challenging at first, but with practice and these tips, you’ll soon find more ease and comfort in the posture.
Here are some essential tips to help you improve your Downward Facing Dog:
- Breath control, relaxation techniques:
Focus on deep, steady breaths throughout the pose. Inhale deeply through your nose and exhale fully through your mouth to help release tension and stay relaxed. - Finding balance, building strength:
Distribute your weight evenly between your hands and feet. Press firmly into the mat with your palms and engage your leg muscles to find stability and strength. - Maintain a straight spine:
Keep your back flat and lengthen through your spine. Avoid rounding your back to prevent strain and to achieve a proper alignment. - Modify as needed:
If you’re struggling with the full pose, you can bend your knees slightly or use props like blocks to support your hands and ease into the posture. Listen to your body and adjust as necessary to make the pose more accessible.
Seated Forward Bend
As you practice the Seated Forward Bend in yoga, focus on gently folding forward from your hips while maintaining a relaxed and elongated spine. This pose, also known as Paschimottanasana, provides a deep stretch to the entire back of your body, from your heels to your head.
To enhance your Seated Forward Bend experience, consider the following modifications and breathwork techniques:
| Seated Forward Bend Modifications | Breathwork Techniques |
|---|---|
| Use a folded blanket under your hips for support | Inhale deeply to lengthen your spine |
| Bend your knees slightly if you have tight hamstrings | Exhale fully as you deepen into the stretch |
| Place your hands on your shins or thighs if reaching your feet is challenging | Coordinate your breath with each movement |
| Focus on maintaining a straight back rather than touching your toes | Visualize tension releasing with each exhale |
For variations, explore using props like yoga blocks under your hands to bring the floor closer, or a strap around your feet to assist in reaching forward. Remember, each modification and breath technique can help you find comfort and depth in your Seated Forward Bend practice.
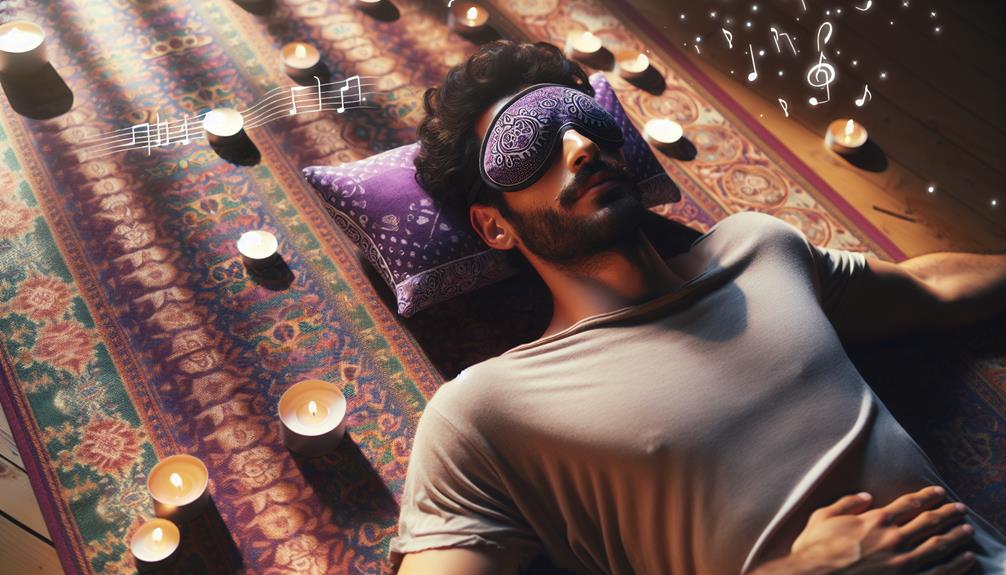
Corpse Pose
Now, let’s talk about Corpse Pose, a rejuvenating posture that offers a moment of deep relaxation and restoration.
As you lie on your back with eyes closed, this pose allows your body and mind to unwind, promoting relaxation and reducing stress.
Corpse Pose is a wonderful way to conclude your yoga practice, offering a time for stillness and integration of all the benefits you’ve gained.
Benefits of Corpse Pose
Lie down on your back and experience the deep relaxation and rejuvenation that Corpse Pose can offer. This simple yet powerful pose is a cornerstone of relaxation techniques and stress relief in yoga.
Here are some benefits you can enjoy by practicing Corpse Pose:
- Stress Reduction: By consciously relaxing each part of your body in Corpse Pose, you can release tension and calm your mind, helping to reduce stress levels.
- Improved Sleep: Regular practice of Corpse Pose can help you unwind before bed, promoting better sleep quality and overall restfulness.
- Enhanced Awareness: This pose encourages mindfulness and self-awareness, allowing you to tune into your body and breath more deeply.
- Physical Relaxation: Corpse Pose provides an opportunity for your muscles to relax fully, aiding in physical recovery and rejuvenation.
Incorporating Corpse Pose into your yoga routine can bring a sense of peace and restoration to your body and mind.
Proper Corpse Pose Form
To ensure you experience the full benefits of Corpse Pose, it’s essential to maintain proper form throughout the practice. One common mistake is tensing your body instead of relaxing it. As you lie on your back, keep your limbs loose, allowing them to gently fall to the sides without any tension.
Another error to avoid is letting your mind wander. Focus on your breath, using proper breathing techniques to deepen relaxation. Inhale deeply through your nose, feeling your abdomen rise, then exhale slowly through your mouth, letting go of any stress or tension with each breath.
Remember, Corpse Pose is about complete relaxation and rejuvenation. By staying present and mindful of your body and breath, you can fully experience the calming effects of this pose.
Practice proper form and breathing techniques to make the most out of your Corpse Pose practice, allowing your mind and body to unwind and find peace.
Incorporating Corpse Pose
Incorporate Corpse Pose into your yoga routine regularly to promote relaxation and rejuvenation. This pose, also known as Savasana, is a powerful relaxation technique that can help you reap the meditation benefits of calmness and mental clarity.
Here’s how you can make the most of Corpse Pose:
- Mind-Body Connection: Lie down on your back, close your eyes, and focus on your breath. This pose encourages you to connect with your body and mind, promoting a sense of harmony.
- Stress Relief: Allow your body to completely relax, starting from your toes to the crown of your head. Let go of any tension or stress you may be holding onto.
- Relaxation Techniques: Practice deep breathing while in Corpse Pose to enhance relaxation. Inhale deeply through your nose, hold briefly, and exhale slowly through your mouth.
- Meditation Benefits: Use this pose as a gateway to meditation. Clear your mind, be present in the moment, and enjoy the peaceful state Savasana offers.
Bridge Pose
Elevate your practice and strengthen your lower back with the invigorating Bridge Pose. This pose not only helps in building core strength but also opens up the chest and stretches the spine.
For beginners, using props such as a block under the sacrum can provide extra support and make the pose more accessible. Remember to breathe deeply and engage your core muscles to maintain stability.
Bridge modifications can include lifting one leg up towards the ceiling, adding an extra challenge to the pose while further engaging the glutes and hamstrings. Another variation for beginners is practicing Bridge Pose with a gentle hip opener by bringing the knees together and letting them fall outward.
Integrating breathwork techniques into Bridge Pose can enhance the relaxation benefits. Inhale deeply through the nose, feeling the belly rise, and exhale slowly through the mouth, releasing any tension in the body.
As you hold the pose, focus on each breath to calm the mind and fully experience the present moment.
Legs Up the Wall
Strengthen your practice and promote relaxation with the soothing Legs Up the Wall pose. This gentle inversion not only helps to calm the mind but also brings numerous benefits to your body. Find a quiet space with a clear wall area to begin.
Follow these steps to practice Legs Up the Wall:
- Set Up: Sit close to the wall with your hip touching it. Lie back and extend your legs up the wall.
- Relaxation Techniques: Close your eyes, focus on your breath, and let go of any tension as you relax into the pose.
- Benefits of Inversion: Legs Up the Wall allows for gentle inversion, helping to reduce swelling in the legs, calm the nervous system, and improve circulation.
- Alternative Poses: If this pose feels uncomfortable, try placing a bolster or folded blanket under your hips for added support, or explore other restorative poses like Reclining Bound Angle Pose for similar benefits.
Take advantage of this simple yet effective pose to unwind and rejuvenate both your body and mind.
Seated Spinal Twist

To begin the Seated Spinal Twist, find a comfortable seated position on your mat or a cushion. Sit up tall, lengthening your spine, and take a deep breath in. As you exhale, gently twist your torso to one side, placing your opposite hand on the outer thigh for support. The other hand can rest behind you for balance. Feel the twist from your lower back through to your upper back, keeping your chest open. Take a few breaths here, feeling the stretch and relaxation in your spine.
Seated Spinal Twist is a wonderful pose for improving flexibility in your spine and enhancing your overall sense of balance. Remember to keep both sit bones grounded as you twist, maintaining a steady foundation. With regular practice, you’ll gradually notice an increase in your spinal mobility and a greater sense of equilibrium in your body.
Find comfort in the Seated Spinal Twist as you unwind and find balance within yourself.
Butterfly Pose
Incorporate the Butterfly Pose into your yoga practice as a gentle way to open up your hips and release tension in your lower back. This relaxing pose offers various benefits such as promoting flexibility and calming the mind.
Here are some tips to enhance your Butterfly Pose experience:
- Butterfly modifications: If you have tight hips, place yoga blocks under your knees for support. This modification can help you ease into the pose comfortably.
- Relaxation techniques: As you settle into the pose, focus on deep breathing. Inhale slowly through your nose, feeling your belly rise, then exhale through your mouth, letting go of any tension.
- Butterfly benefits: This pose can improve hip flexibility, stimulate abdominal organs, and reduce fatigue. Embrace the gentle stretch and let go of any stress in your body.
- Breathing techniques: Practice mindful breathing by counting your inhales and exhales. Try to make your breaths smooth and even, syncing movement with your breath for a harmonious practice.
Savasana
Now, let’s talk about Savasana, also known as Corpse Pose, a vital part of every yoga practice.
Savasana offers a moment of deep relaxation and rejuvenation, allowing your body and mind to unwind fully.
In the upcoming points, we’ll explore the benefits of Savasana and provide you with some helpful tips to enhance your practice.
Benefits of Savasana
Relaxation and rejuvenation await you in the peaceful pose of Savasana, offering a multitude of benefits for both the body and mind. As you settle into this final resting posture, let’s explore the advantages you can reap:
- Stress Relief: Savasana is a powerful tool for releasing tension and stress from your body. By surrendering to the pose, you allow your muscles to relax deeply, promoting a sense of calm and peace.
- Mindfulness Practice: This pose encourages mindfulness by bringing your awareness to the present moment. As you focus on your breath and bodily sensations, you cultivate a sense of presence that can help quiet the mind and reduce anxiety.
- Deep Breathing: Savasana provides an opportunity to engage in deep, diaphragmatic breathing. This type of breathing can help oxygenate your body, improve circulation, and promote a state of relaxation.
- Overall Well-being: By incorporating Savasana into your yoga practice, you support your overall well-being. The benefits extend beyond the physical realm, touching the mental and emotional aspects of your being, leaving you feeling refreshed and renewed.
Tips for Practicing
To enhance your experience in Savasana, focus on maintaining a gentle awareness of your breath and body throughout the pose. This final relaxation posture is crucial for integrating the benefits of your practice. Here are some tips to help you make the most of your Savasana:
| Breathing Techniques | Meditation Tips |
|---|---|
| Focus on deep, slow breaths to calm your mind and body. | Allow your thoughts to come and go without judgment. |
| Feel the rise and fall of your chest and belly with each breath. | Visualize a peaceful place to help you relax further. |
| Engage in a body scan, releasing tension with each exhale. | Repeat a calming mantra silently to yourself. |
| Practice equal breathing (inhale for the same count as exhale) for balance. | Use soft music or nature sounds to enhance your experience. |
| Incorporate pranayama techniques like Nadi Shodhana for relaxation. | Set intentions or affirmations for positivity and self-care. |
Frequently Asked Questions
Can Yoga Poses Help With Anxiety and Stress Relief?
Yoga poses can be incredibly beneficial for managing anxiety and stress. By practicing mindfulness techniques and engaging in physical relaxation, you can experience a sense of calm and relief that helps ease your mind.
Is It Necessary to Practice Yoga on an Empty Stomach?
To optimize your yoga practice, it’s beneficial to avoid heavy food intake before practicing. Morning routines with yoga are best on an empty stomach for comfort and focus. Listen to your body’s needs for a fulfilling practice.
How Often Should Beginners Practice These Poses?
So, how often should you practice these poses? Consistency is key for reaping the benefits. Overcome obstacles by starting small, aiming for 2-3 times a week, gradually increasing. Listen to your body, be patient, and enjoy the journey.
Can These Poses Be Modified for Individuals With Injuries?
Yes, modifications are essential for individuals with injuries during yoga practice. Prioritize safety precautions and consider injury considerations when making personal modifications. It’s crucial for your well-being to adapt poses to suit your body’s needs.
Are There Specific Breathing Techniques to Use During the Poses?
Yes, specific breathing techniques like deep belly breathing or ujjayi breath can enhance your practice by promoting relaxation, mindfulness, and releasing tension. These techniques offer numerous benefits, aiding in focus, stress reduction, and overall well-being during poses.
Conclusion
Incorporate these essential yoga poses into your routine for relaxation and rejuvenation.
Ground yourself in Mountain Pose, surrender in Child’s Pose, and flex with Cat-Cow Stretch.
Find stress relief in Downward Facing Dog, strength in Bridge Pose, and circulation benefits in Legs Up the Wall.
Release tension with Seated Spinal Twist and Butterfly Pose, and enhance awareness in Corpse Pose.
Remember to breathe and stay mindful throughout your practice for maximum relaxation.
You got this!